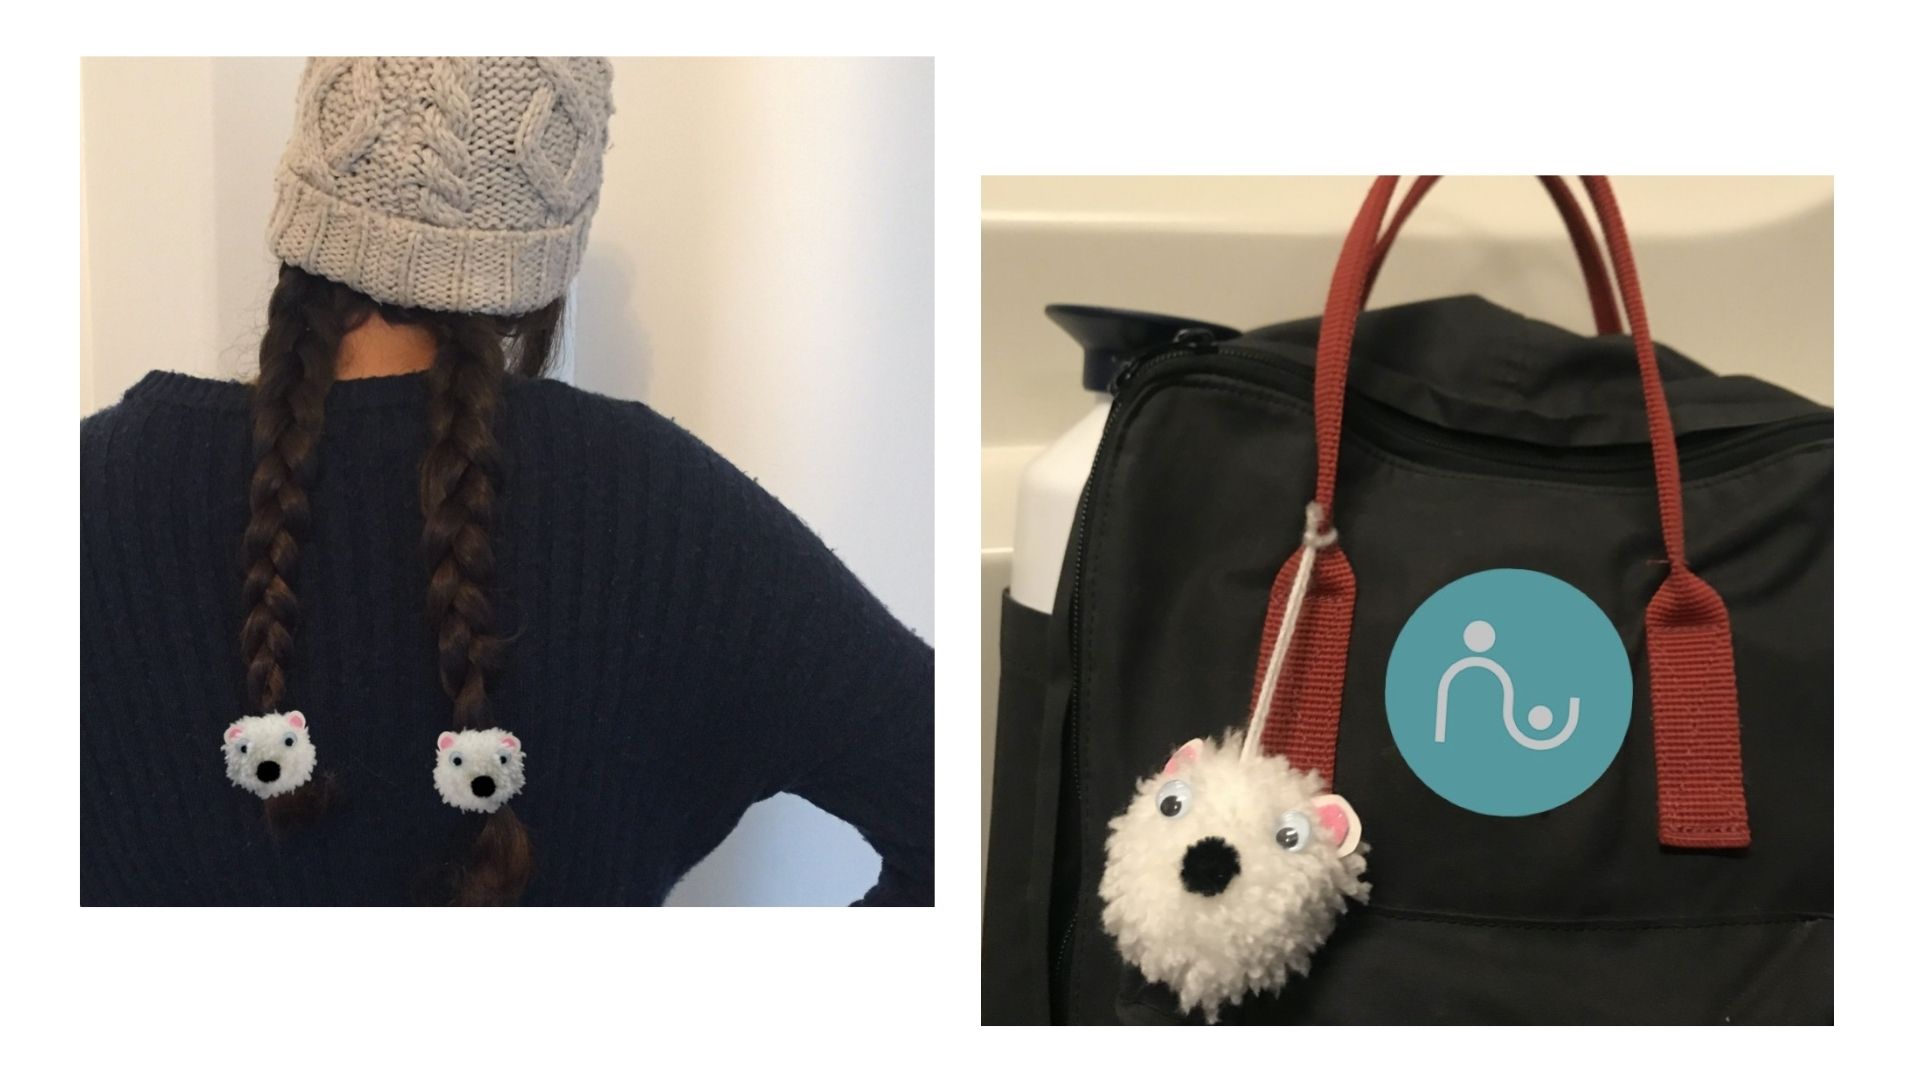
Make your own polar bear pom pom craft
Still getting used to chilly weather or simply just a fan of cute polar bears? Whether or not it’s snowing outside, you can embrace the arctic with your kids by making this simple and adorable pom pom polar bear craft. See the quick and easy steps it takes and learn some fun polar bear facts along the way!
Making a polar bear pom pom: What do you need?
- White paper
- A pink marker
- Small craft googly eyes
- A small black pom pom
- Cardboard
- White wool
- A pair of scissors
- Glue
Let’s get started! Steps to make a diy pom pom polar bear
Step 1. Grab a piece of cardboard and draw two circles. Then, draw a smaller circle inside each circle to make a donut-like shape.
Step 2. Take your scissors and cut out both of the circles. Cut the smaller circles out of the larger circles, leaving a donut-shaped piece of cardboard.
Step 3. Now, wrap the wool around both cardboard pieces twice and make sure that the cardboard underneath the wool is no longer visible.
Step 4. Next cut the wool with your scissors between the two cardboard pieces (that are now wrapped together with the wool).
Step 5. Take a piece of wool and tie this securely between the two pieces of cardboard. Here, you can leave a little bit of wool sticking out, so that you have a piece where you can hang your polar bear from. (However, it is up to you whether you want to do this or not.)
Step 6. As soon as you’ve done this, you can carefully remove the cardboard from the wool and you’ll be left with a small white pom pom. You can trim the pom pom slightly with a pair of scissors if this is necessary.

Step 7. Now, glue the smaller black pom pom in the middle of your homemade white pom pom. This will be the polar bear’s nose.
Step 8. Afterwards, glue the googly eyes to make the polar bear’s face.
Step 9. To make the ears, you can cut small semi-circles out of white paper. Then, simply color the ears in with the pink marker and your polar bear ears are complete! You can attach them with glue to the top of your white pom pom. And voila! You’ve made your very own pom pom polar bear!
Now that you’ve finished making your polar bear pom pom, you can think about what you want to do with it. You can use the pom pom as decoration and keep it in your bedroom. However, you could also make several and use them as a cute polar bear slinger or pom pom garland. We made a cute keychain or accessory to hang from your backpack and polar bear pom pom scrunchies. To make the scrunchies, you can simply glue the pom pom to a hair tie.

Did you like creating polar bear pom poms? We’d love to see! Share with us on Facebook or Instagram @Babysits! Want more fun craft and activity inspiration? Check out our other diys and crafts and kids activities!
Polar bear fun facts!
- Polar bears are actually black! Their fur is transparent and appears white due to reflected light, however, their skin underneath (like their cute nose suggests) is completely black.
- Polar bears can weigh up to 800kg and be up to 3m long.

- Polar bears can swim for days at a time and hundreds of kilometres without stopping.
- You may think that polar bears need to be careful about getting too cold in the -40C arctic temperatures. However, because of their extreme adaptation to the cold (double coats of fur and thick layer of fat to stay warm) they are actually more prone to overheating.

Fun fact academic sources:


